


 Getting started
Set up Cloudflare Email Sending, create your key and connect it.
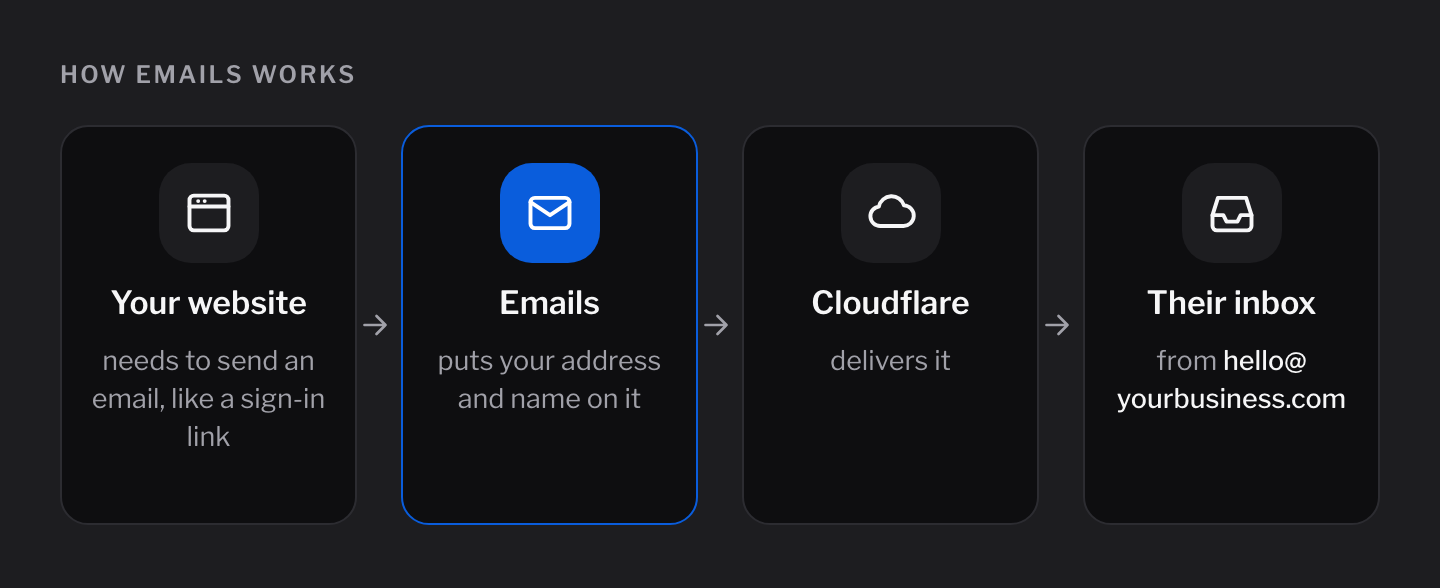
Emails is a plugin for websites built with EmDash. It sends your website's emails, like sign-in links, from your own address. You set it up once. It takes about five minutes.
Before you start
You need four things:
- Your website is built with EmDash.
- Your website runs on Cloudflare.
- You can sign in to the Cloudflare account your website is in.
- Your website has an encryption key.
Step 1: Install Emails
In your website's admin, open Plugins. Find Emails, click Install and confirm.
Then open Emails in the menu on the left, under Apps.
Step 2: Add your address in Cloudflare
Click Open Email Sending and sign in to Cloudflare. If it asks which account to use, pick the one your website is in.
Is your website's address (like yourbusiness.com) in the list?
- Yes: go to the next step.
- No: click Onboard Domain, pick your address and click Done. Cloudflare sets it up for you.
Step 3: Create your key
Go back to Emails and click Create your key. Cloudflare opens a form that's already filled in.
- Scroll down and click Continue to summary.
- Check that the list shows Email Sending and Account Settings.
- Click Create Token.
- Copy the key.
Step 4: Connect
Back in Emails:
- Paste the key into Cloudflare key.
- Enter the address your emails should come from, like hello@yourbusiness.com.
- Enter your business name.
- Click Connect.
Emails sends you a test email. It should arrive in a minute or two.
Is my key safe?
Yes. The key from Create your key can only send emails.
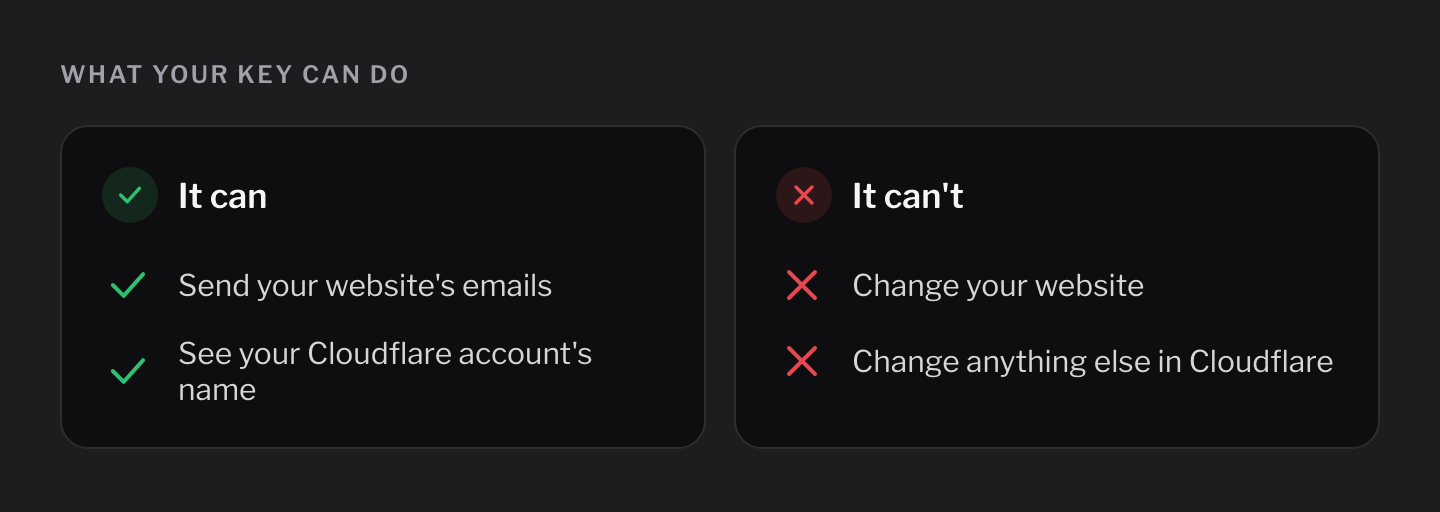
Emails keeps your key locked (encrypted) and never shows it again. It also won't accept a key that could change your website.
Check that it's working
Open Settings → Email in your admin. It shows which service sends your emails, and has a Send test email button.